This post contains affiliate links. I only recommend products I know and love.
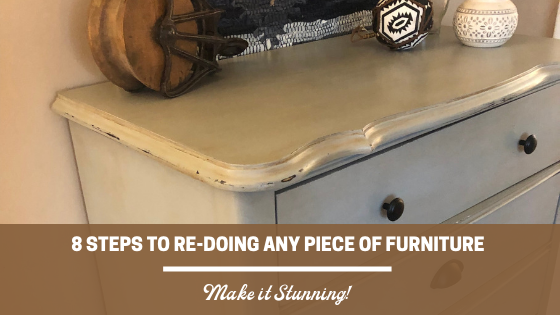
Redoing a piece of furniture found at a thrift store, garage sale, or antique shop is a little bit like getting ready to go out on the town. Here are 8 steps for making any piece look stunning.
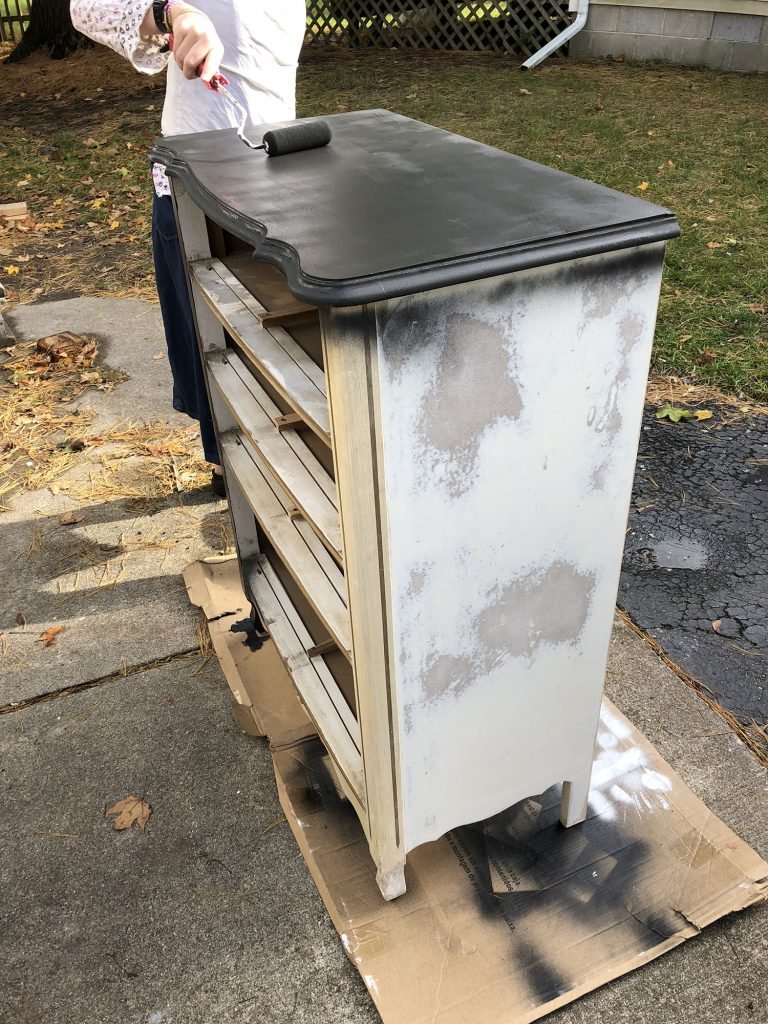
- Strip Down Piece.
- Remove all doors, drawers, and other detachable pieces.
- Remove all “jewelry” (ie. hardware, such as pulls, knobs, hinges, stops, latches, etc.).
 Bathe It.
- Use TSP (tri-sodium phosphate) to thoroughly clean the piece. This helps get of dust and cobwebs, spider egg sacks stickers, etc. that you could sand off but would clog up your sandpaper quicker.
- Get all the gunk off.
- Put on the Mud Mask.
- Use wood filler or wall joint compound to fill any unwanted holes or dings.
- If you have veneer chipping off, you may want to go to the automotive department of a box store and get some Bondo. This hardens and can be sanded. Just make sure to follow the directions on the can and wear protection. (Wood filler doesn’t work well in fixing veneer because it gets brittle and cracks in this application.)
- Exfoliate your Piece.
- Its time to get all the dead skin off – ie sand your piece
- Get all the old varnish, dings, scratches, paint, stickers, etc. that made your piece needy of a new look
- Towel Off.
- After sanding, you need to take a lightly damp, lint free rag and wipe your piece down.
- If you have a compressor or something to blow off your piece, you can do that.
- Also, if you have a shop vac, you can use it to vacuum the dust off your piece.
- Put on Foundation.
- If you have any serious stains or knots on your piece that you don’t want showing through, you will want to invest in some shellac. It has great properties that do not allow bleed through.
- It is the only thing on the market guaranteed to block stains.
- I have tried and read many a time where using primer has been unable to stop bleed through. I have had to resand pieces and put on shellac because of stains bleeding through.
- Shellac also tends to dry quickly so it is able to be painted over in the same day.
- Make sure to read instructions before using.
 Start Layering Your Makeup.
- Begin with a good primer like Kilz or Zinser.
- If you are only going to do one piece, then buy a quart. However, if you are going to be doing multiple pieces of furniture, go ahead and buy a gallon of primer, as you will use it.
- On a side note, if you are only doing a smaller piece of furniture, like an end table, then you can do a cheat method and buy a spray can of primer. This can make quick work of your priming.
- With priming, put on a coat or two, depending on the piece.
- After the primer has dried, use a piece of 220-grit sandpaper to lightly sand your piece and make sure you have any orange peel off your piece.
- Orange peel is the name for the globs of paint that sometimes happen.
- If you are only going to do one piece, then buy a quart. However, if you are going to be doing multiple pieces of furniture, go ahead and buy a gallon of primer, as you will use it.
- Add the beautifying aspects of your makeup… (ie. now it is finally time to paint your piece).
- Get paint and either a good brush or roller, and get to work.
- Paint the edges and corners first. This is called “cutting in.”
- Finish off with the big, open blocks of space.
- This is the same technique you would use in painting a room.
- Once the paint has dried, check for any places where there might be drips or blobs.
- Use the sandpaper again to gently knock these blobs down.
- Repeat these steps until you have sufficiently covered your piece and it looks stunning… This is usually 2-3 coats of paint.
- Side note: If something like a bug or a piece of lint lands in your piece immediately as you are painting, you can take your finger and get it out. However, if it lands in a place that you painted a few minutes before, leave it. Let the piece dry, then gently sand the place smooth.
- Begin with a good primer like Kilz or Zinser.

 Get Dressed and Put Jewelry On.
- Once the piece has dried, re-attach all your hardware and doors, drawers, etc.
- As you are doing this, make sure to continue to be gentle.
- Paint will dry to the touch in about 1-2 hrs. It will dry to mild use in 24 hrs. However, to dry to a sturdy coat takes about 30 days. I have learned this the hard way. Just treat your piece gently till it is past those 30 days.
- If it is going to be a piece that will be used heavily, like a desk or cabinet, you may want to add a few coats of polyurethane as extra protection. This is the recommended way to help keep painted pieces looking nice if they are going to be used in high-traffic areas.
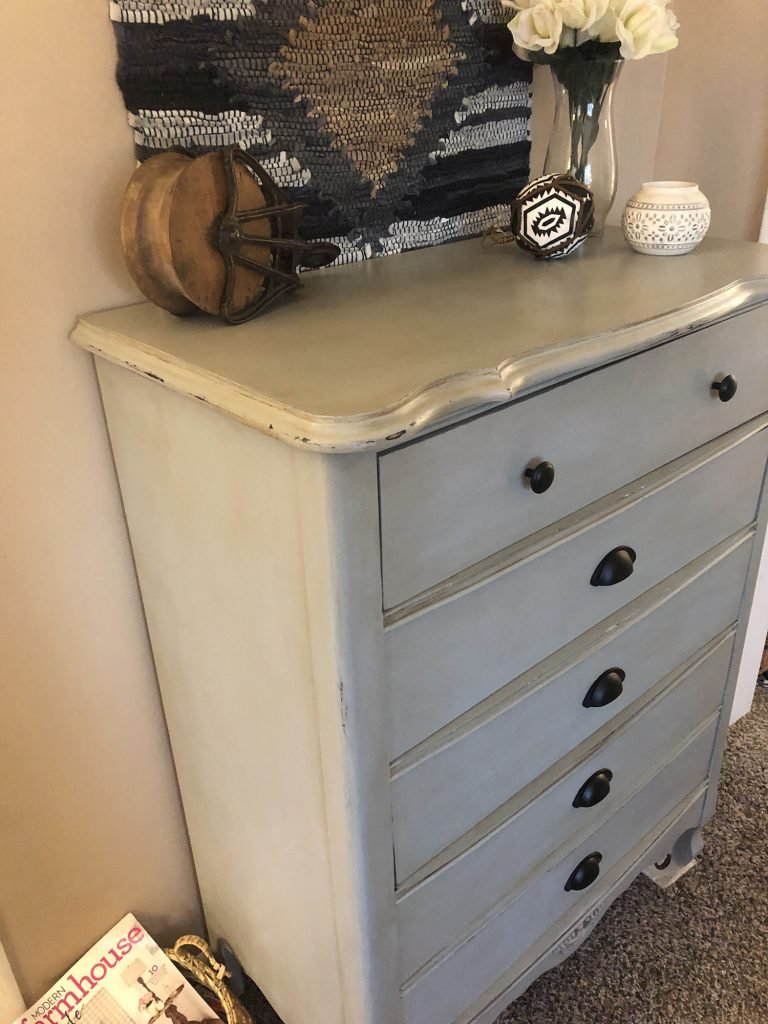
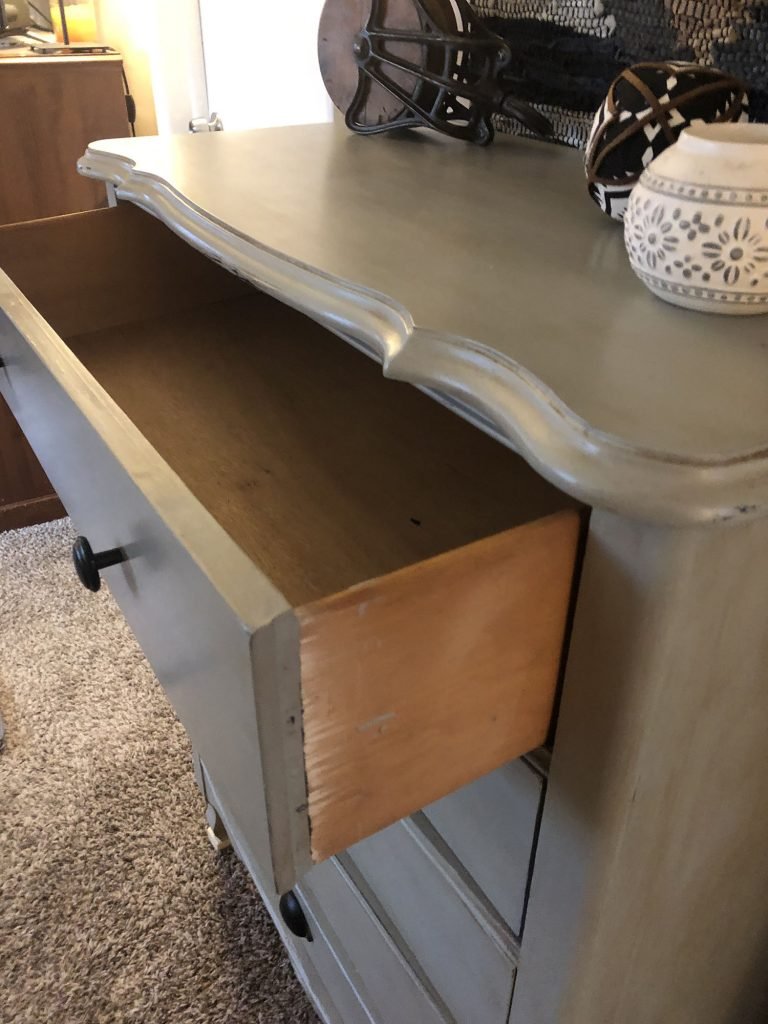 I hope you enjoyed these 8 key steps in redoing furniture. Using these as a template will allow you to become a master DIY-er in no time, amazing your family and friends with the beauty you will bring into your house through your own labors. Now go get that piece of furniture and schedule a date to take it out! 🙂

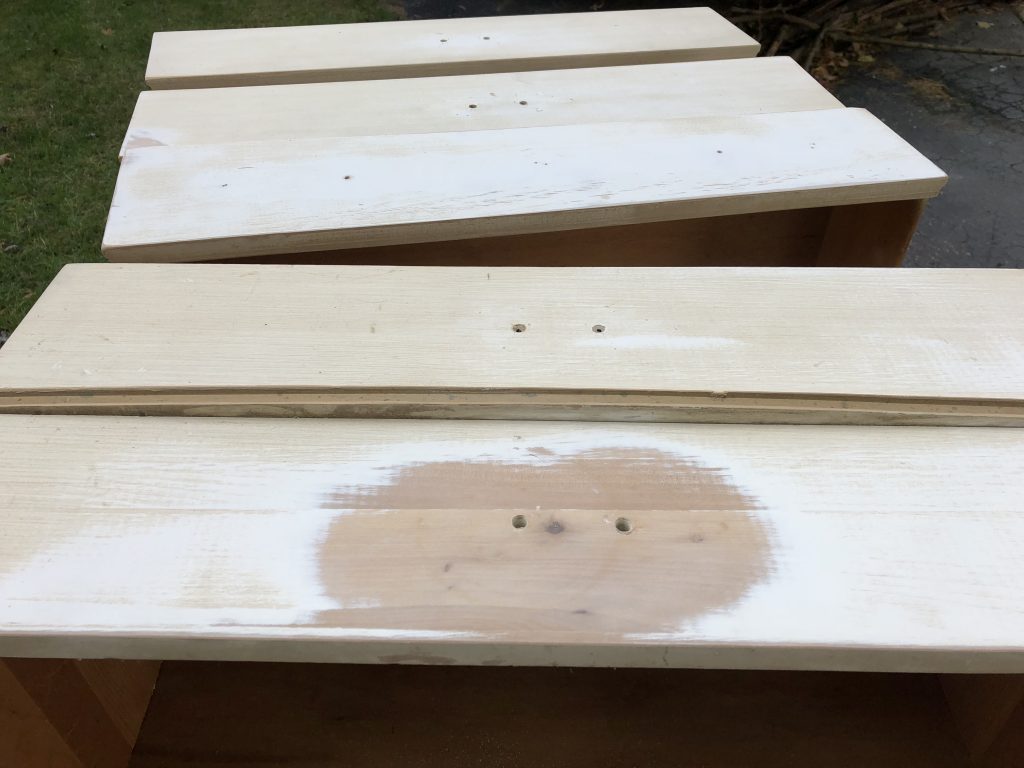 Bathe It.
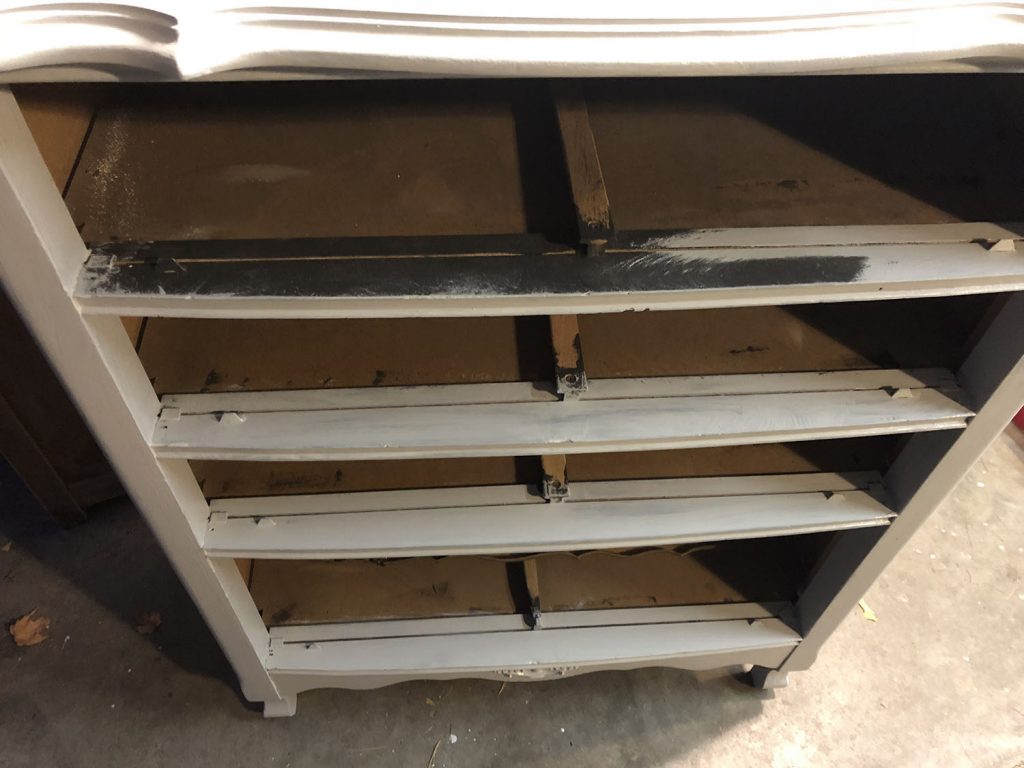 Start Layering Your Makeup.
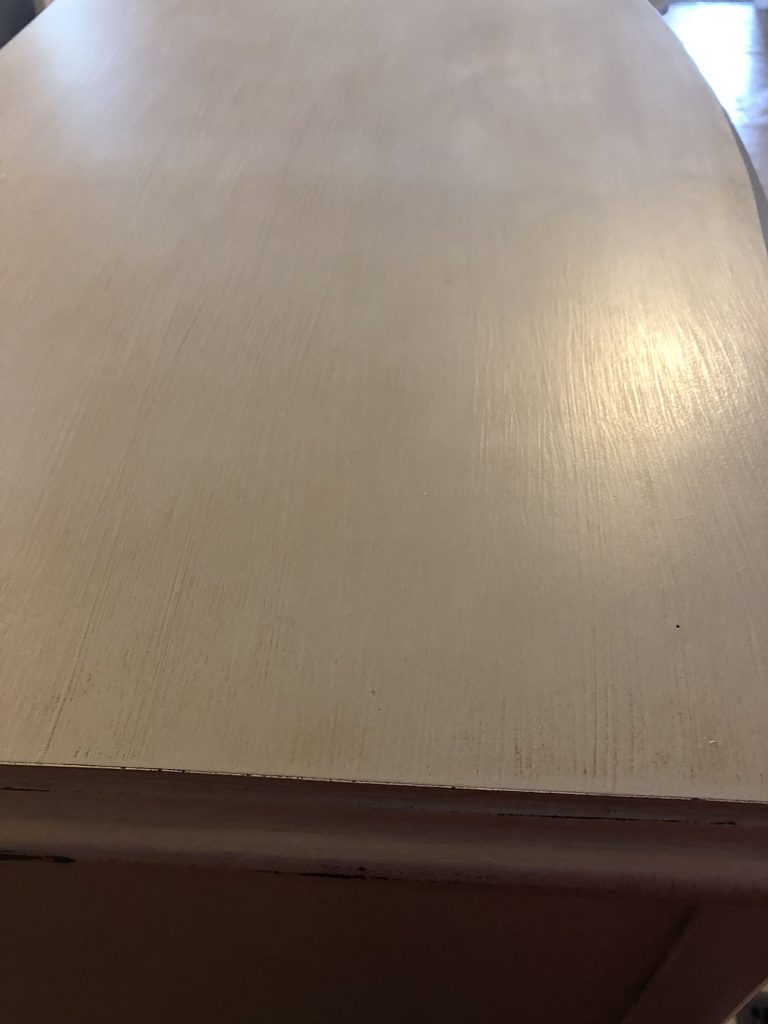
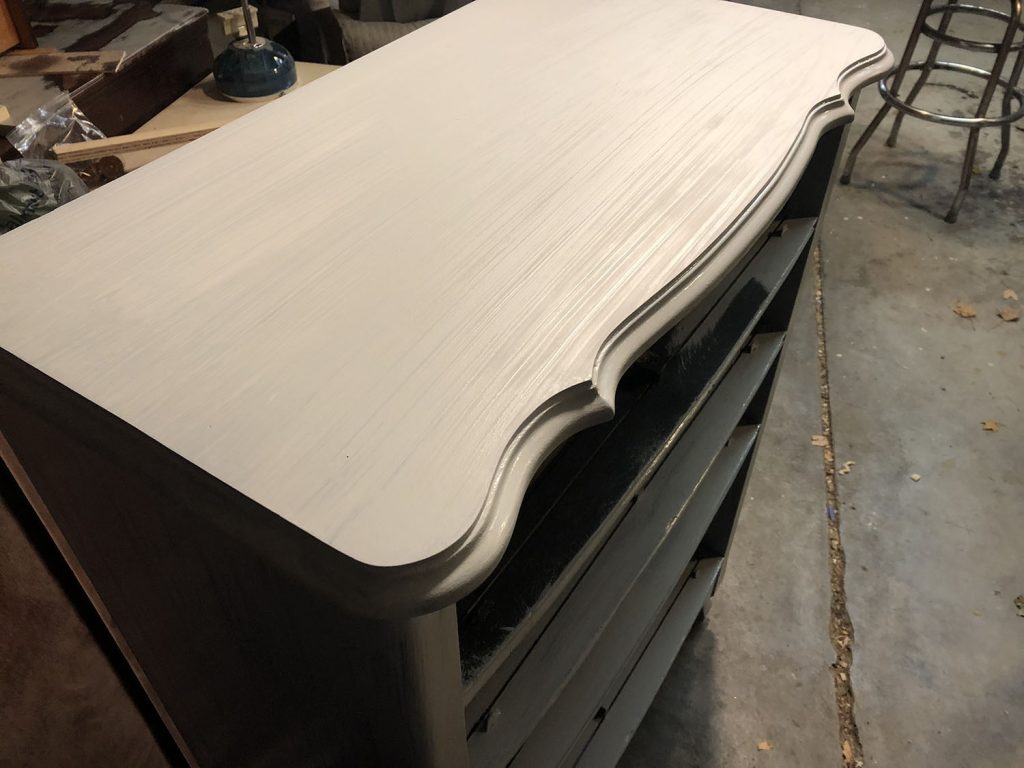 Get Dressed and Put Jewelry On.
Leave a Reply